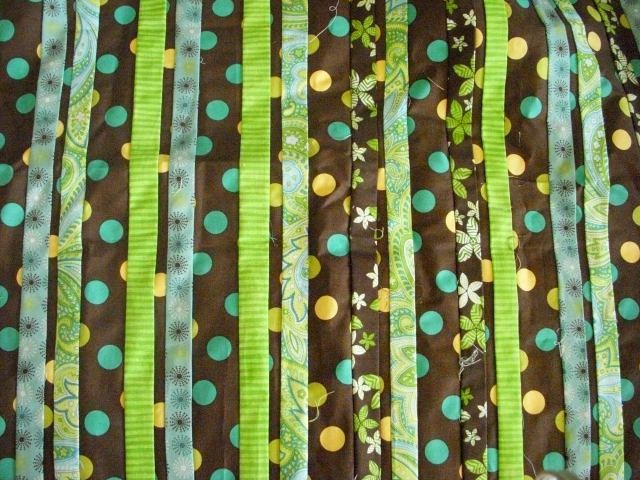
So I started my first quilting project about 2 months ago with the Sew-Sew-Sisters at school. We all decided to do the same Honeybun pattern for a baby quilt, and it was amazing to see all the different fabrics that came rolling in. I decided I was going to make mine for Austin and Missy’s baby, Jude. I went up and down the aisles several times in search for the perfect fabric and finally I decided on the set of similar blues/greens/yellows/browns.
Initially I loved each of these fabrics and the way that they looked with the others. I whizzed through the first 4 steps of the quilt: cutting the strips, sewing them together, and then cutting those strips and sewing them together the opposite way.
Even though the instructions said to iron in between each and every step, I put it off. I figured I would just whip all of the pieces out and then do one big ironing session at the end… HA! Too bad for me, that by only the 5th step in the quilt, it was already a heaping pile of trash and there was NO WAY I would be giving this away as a gift to anyone. Because of my speed-racer sewing techniques there was not a single straight line anywhere on the blanket. Because of my brilliant idea not to iron anything, I had pieces sticking up every which way and had sewn on top of them a second time, so that the whole blanket was pulled all funky. The fabric that I chose was way too busy and would give a small child nausea after laying on it for 10 minutes.
So… I started over. I went back to the store and picked out new fabric.. this time keeping in mind what it would look like and how I needed certain colors to pop and certain colors to blend.
This time when I started to sew I went very S.L.O.W. and took my time with measuring and cutting everything. I steam ironed every single little piece after each individual strip and it is AMAZING how much of a difference it made. Around the 5th step of the directions for the quilt, it tells you that your piece should now be around 31″. My first attempt was only 23 inches, my 2nd attempt was an exact 31″! If you didn’t believe me about what a crummy job I did on the first one, scroll back up and compare it to this one. See how the lines are the same width the entire way up!

I have been working really hard on the new quilt and only have the last bit of quilting and the binding left. The baby shower is next Saturday so I will for sure have it finished by then. Stay tuned for the final product!!


